A good trade show printing checklist can save your team from rushed decisions, missed details, and costly reprints. Trade shows move quickly. Between booth planning, sales preparation, travel, lead capture, and follow-up campaigns, print materials can easily get pushed too close to the event date.
The problem is that printed pieces are often the most visible parts of your booth. Your banners, table covers, brochures, sell sheets, business cards, and giveaway inserts all work together to explain who you are and what visitors should do next.
This checklist is designed for marketing teams, office managers, and small business owners who need to get print projects organized before a show. It covers what to order, what to check, and where teams most often run into problems.
Start With the Booth Plan, Not the Print Order
Before choosing products, map out the physical booth space and the visitor experience. What will people see first from the aisle? Where will staff stand? Will visitors pick up printed materials, scan a QR code, schedule a demo, or speak with sales?
If your team is exhibiting at a larger conference or convention, confirm booth rules before production. Venues and show organizers may have limits on display size, hanging signs, setup methods, or delivery windows. Specs can vary, so it’s worth confirming before files are finalized.
If you need support with event-specific materials, Premier Printing Services offers trade show printing and convention printing for teams preparing booth graphics, handouts, and related event materials.
Trade Show Printing Checklist: What to Order
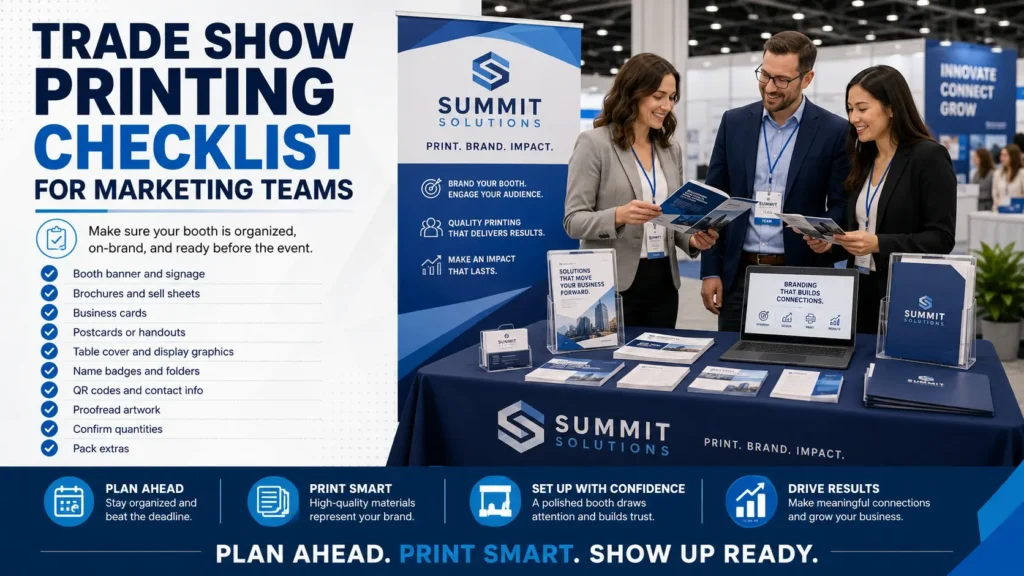
Every booth is different, but most trade show print orders include a mix of large-format graphics, printed sales materials, and practical branded pieces. Use this trade show printing checklist as a starting point, then adjust it based on your booth size, audience, and sales process.
Booth Graphics and Signage
- Back wall graphics: These may include retractable banners, fabric displays, rigid signs, or booth backdrop graphics. The message should be readable from several feet away.
- Tabletop signs: Smaller signs can help explain product categories, pricing, demos, QR codes, or meeting instructions.
- Directional signs: Useful for registration tables, sponsored areas, private meeting rooms, product demos, or breakout spaces.
- Outdoor or venue signage: If your event includes exterior promotion, review material and mounting needs carefully. For related ideas, see this guide to banner printing.
Sales and Marketing Handouts
- Brochures: Best for an overview of your company, products, services, or industries served.
- Flyers: Good for promotions, event-specific offers, product launches, or simple one-page summaries. If you need a flexible handout, review flyer printing options.
- Sell sheets: Helpful when your sales team needs a concise, product-specific piece for follow-up conversations.
- Catalogs or booklets: Useful when buyers need to compare products, review specifications, or take detailed information back to their team.
- Postcards or leave-behinds: A simple option for QR codes, special offers, appointment reminders, or lead follow-up.
Staff and Networking Materials
- Business cards: Make sure every booth staff member has enough cards, especially sales reps and leadership. If you’re updating cards before the show, review common business card printing options.
- Name badges or inserts: Check whether the event provides badges or whether you need custom inserts.
- Presentation folders: Useful for teams handing out multiple documents, proposals, or sponsorship packets.
- Appointment cards: Helpful if your team schedules post-show consultations, demos, or site visits.
File Setup and Prepress Checks
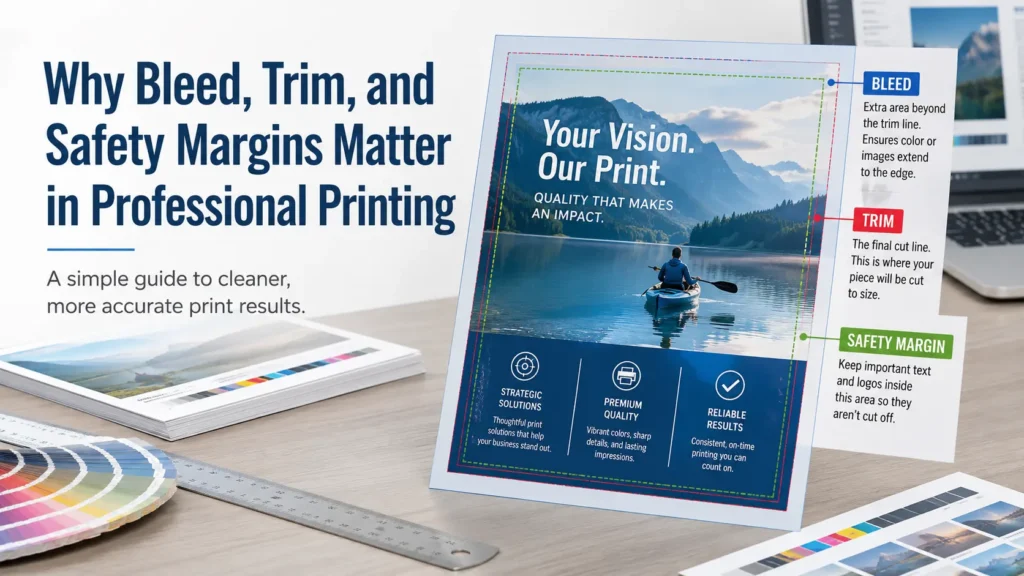
Many print delays start with file issues. The artwork may look fine on screen but still need adjustments for print production. Common problems include missing bleed, low-resolution images, incorrect color setup, missing fonts, or important text placed too close to the trim edge.
Before sending files, review the basics: final size, bleed, safe margins, image quality, color mode, linked files, fonts, and export settings. If you’re not sure what your printer needs, ask before production. Specs can vary depending on the product, material, finishing, and equipment used.
Premier’s Prepress Toolkit is a helpful resource for artwork, bleed, resolution, color, proofing, and file preparation questions. For a deeper explanation of margins, review this guide to bleed, trim, and safety margins in printing.
Quick File Checklist
- Confirm the final size of every piece before design starts.
- Include bleed when the artwork runs to the edge of the piece.
- Keep logos, text, QR codes, and important graphics inside the safe area.
- Use high-quality images and confirm they are suitable for the final printed size.
- Check that QR codes scan correctly at the printed size.
- Proofread phone numbers, URLs, booth numbers, dates, and speaker names.
- Make sure approved brand colors, logos, and disclaimers are used consistently.
- Export files according to your print provider’s preferred specifications.
Paper, Materials, and Finishing Choices
Trade show materials are handled a lot. They sit on tables, get packed into bags, travel home with attendees, and sometimes end up in a sales meeting days later. The right paper and finishing choices can make a piece feel more professional and hold up better during the event.
For handouts, consider how the piece will be used. A lightweight flyer may be fine for a short-term promotion. A product sheet or capability brochure may benefit from a sturdier stock. A folder or booklet may need to feel more substantial because it represents your company after the show.
Finishing options can include folding, scoring, binding, coating, lamination, drilling, or custom trimming, depending on the piece. Not every finish is right for every project, so ask your print shop what makes sense for your quantity, paper, artwork, and timeline. For more planning help, see this practical guide to choosing the right paper stock.
Timeline and Approval Planning
Trade show printing usually involves more approvals than teams expect. Marketing may own the design, but sales, leadership, legal, product, HR, or event staff may also need to review pieces before they’re printed.
Build a simple approval schedule before files are due. Include time for writing, design, internal review, edits, proofing, production, packing, and shipping or pickup. If you’re producing multiple items, remember that one late file can slow down the full event kit.
It also helps to assign one person to manage final approvals. Too many reviewers can create conflicting edits at the last minute. For a broader planning framework, read Premier’s print deadline checklist for artwork, copy, and approvals.
Common Trade Show Printing Mistakes to Avoid
- Ordering before the booth layout is final: This can lead to graphics that don’t fit the space or miss key viewing angles.
- Using too much text on large graphics: Booth signage should be easy to read quickly. Save detailed information for brochures and sell sheets.
- Forgetting the call to action: Every printed piece should make the next step clear, whether it’s scanning a code, booking a demo, visiting a URL, or speaking with a rep.
- Waiting to proof until the last minute: Proofing is where many small but important errors are caught.
- Using web graphics for large-format print: Images that look sharp online may not work for banners or booth displays.
- Not checking shipping and event delivery rules: Some venues have strict receiving instructions. Confirm before you ship anything to the show site.
- Running out of handouts: Estimate based on expected traffic, staff goals, and whether materials will be used after the show.
When to Ask Your Printer for Help
You don’t need to have every detail figured out before contacting a print provider. In fact, asking earlier can help you avoid redesigns, material mismatches, or timeline problems.
Reach out if you’re unsure about sizes, file setup, display materials, paper weights, finishing, quantity planning, or whether a design will print well. A good print team can also help you organize related pieces so your booth graphics, flyers, business cards, and folders feel consistent.
If your team needs design or file preparation support, Premier also offers prepress and graphic design services. This can be useful when your files need cleanup, resizing, layout support, or production-ready formatting before the deadline.
Final Review Before You Send to Print
Before approving production, do one last review as a team. Check the event name, booth number, dates, contact details, QR codes, website URLs, product names, pricing references, legal copy, and brand guidelines. Look at both the artwork and the overall event plan.
For multi-piece orders, make sure the messaging is coordinated. Your banner may create interest, but your handout should explain the offer. Your business card should make follow-up easy. Your folder or booklet should support the sales conversation after the booth visit.
A careful trade show printing checklist helps your team stay organized and gives your print provider the details needed to quote and produce the job accurately. If you’re preparing for an upcoming event and want help planning materials, reviewing files, or choosing print options, contact Premier Printing Services for more information or project help.